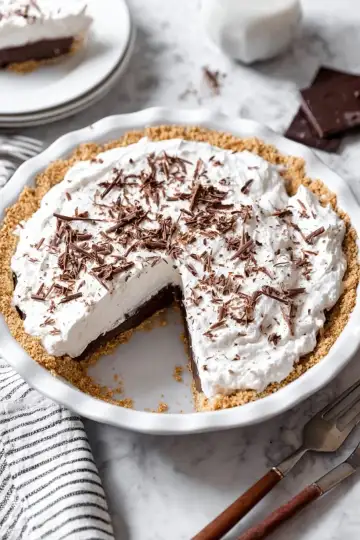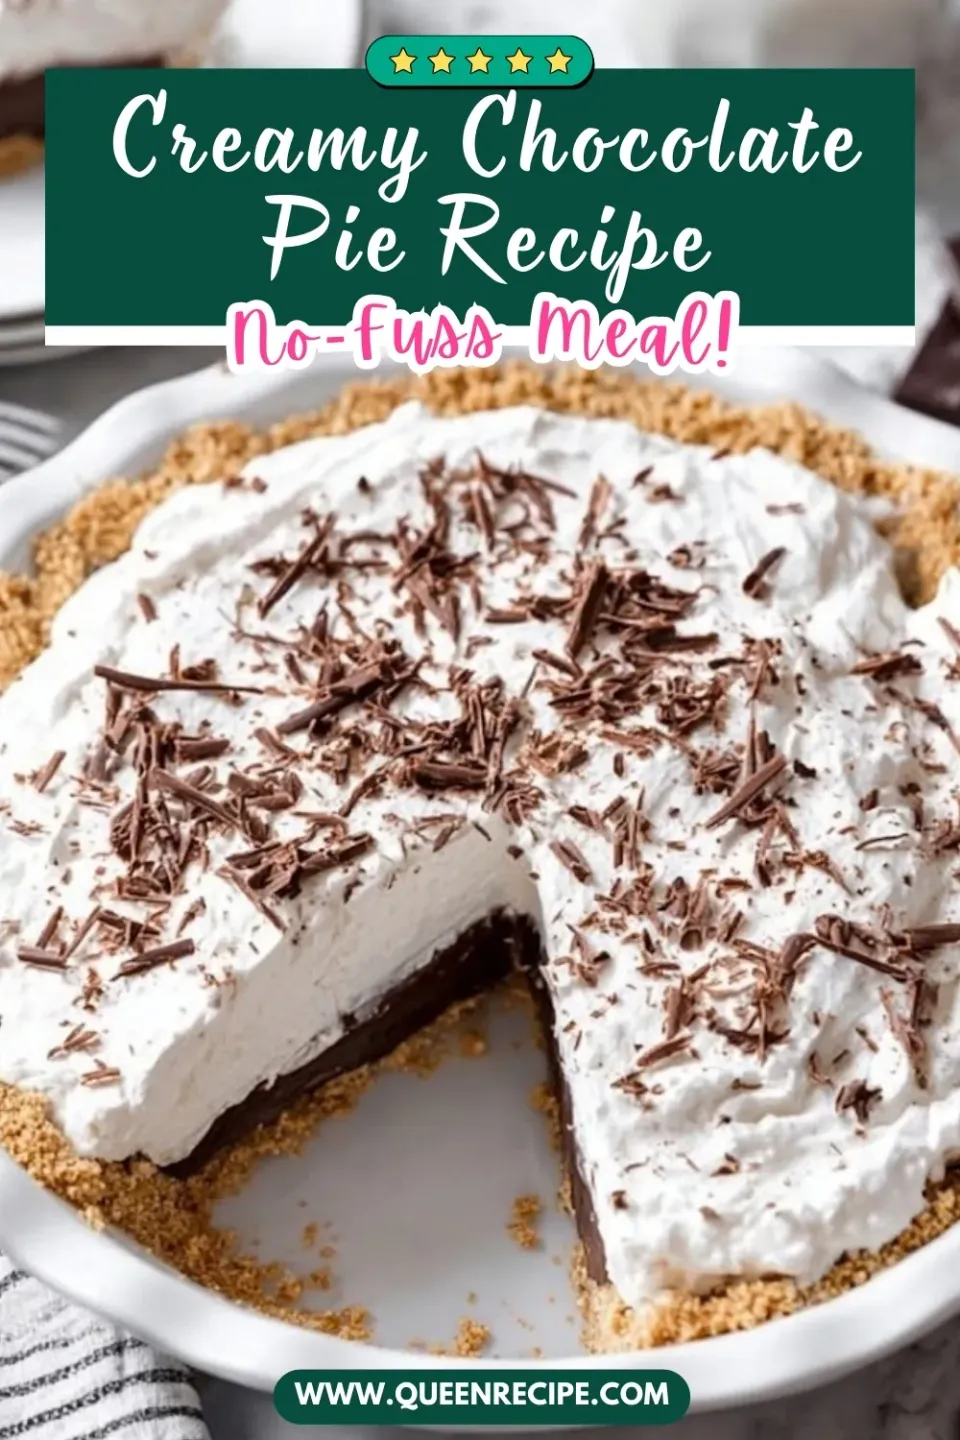

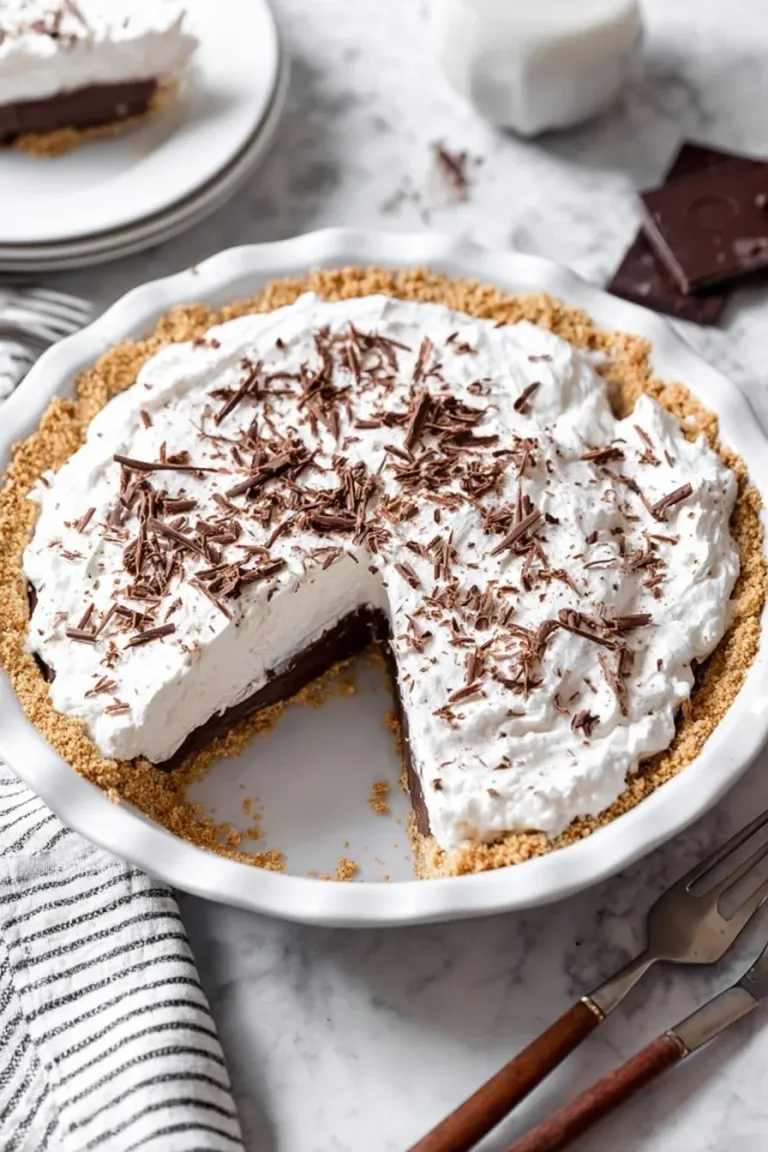
If you’re a chocoholic like me, you’re going to adore this Chocolate Ice Cream Pie Recipe. Imagine a velvety chocolate filling, layered over a buttery graham cracker crust, topped with fluffy whipped cream—and all without any complicated baking. It’s pure, no-bake indulgence that’s perfect on a warm day or whenever that sweet tooth hits.
Why You'll Love This Recipe
I’ve made this Bishop’s Chocolate Pie more times than I can count, and it never disappoints. It’s like a dreamy chocolate cloud in pie form, with just the right mix of creamy, crunchy, and sweet.
- No baking stress: The filling sets in the fridge, making it perfect for busy days.
- Simple ingredients: Easy to find, pantry-friendly staples come together effortlessly.
- Versatile dessert: Perfect for family dinners, potlucks, or just treating yourself.
- Customizable toppings: Add chocolate curls or mini chips to make it your own.
Ingredients & Why They Work
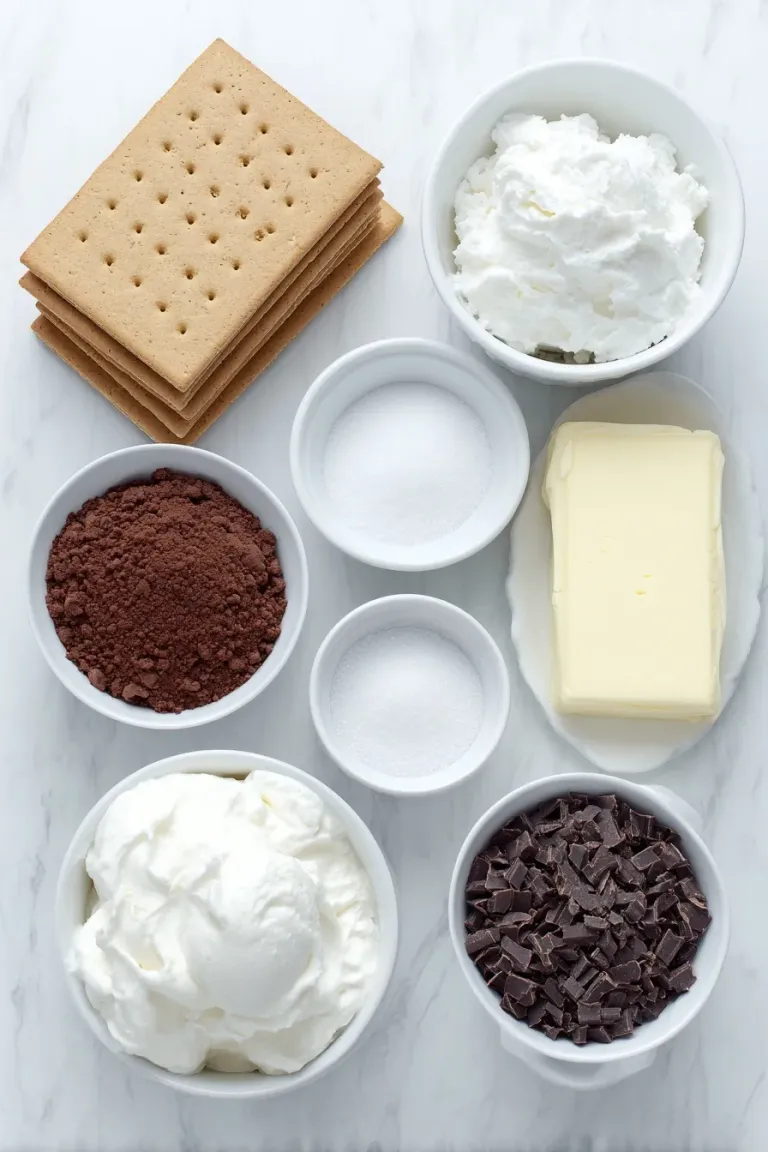
This pie is a winner because of its simple but thoughtful ingredients. Grab quality graham crackers for that perfect crust crunch, and don’t skip the chocolate milk to really boost the chocolate flavor. Plus, melting vanilla ice cream into the filling? Genius for that creamy, dreamy texture.
 Save
- Graham cracker sheets or crumbs: Provides a buttery, crunchy base that holds the pie together beautifully.
- Sugar: Adds a touch of sweetness to balance the chocolate.
- Salted butter: Melts into the crust for richness and depth.
- Chocolate milk: Enhances the chocolate flavor and gives the pudding extra creaminess.
- Instant chocolate pudding mix: The secret to that rich, smooth filling that sets up nicely.
- Vanilla ice cream: Melted in to add a luscious texture and subtle vanilla notes.
- Whipped topping: Creates a light, airy contrast to the dense chocolate filling.
- Chocolate curls or mini chocolate chips (optional): For a pretty, chocolaty garnish that adds extra texture.
Make It Your Way
This Chocolate Ice Cream Pie Recipe is wonderfully versatile—feel free to tweak it to match your tastes and pantry. Whether you want to amp up the chocolatey goodness or keep it light and refreshing, there’s plenty of room to play around.
- Use alternative crusts: While the graham cracker crust is classic, swapping in an Oreo crust or crushed pretzel base adds a fun twist. I once tried a salted pretzel crust that brought a perfect sweet-and-savory balance to this creamy pie.
- Milk swaps for richer flavor: For a deeper chocolate flavor, try using whole milk chocolate or chocolate almond milk instead of regular chocolate milk. The difference is subtle but delicious.
- Whipped topping options: If you prefer a fresher touch, homemade whipped cream works beautifully instead of store-bought whipped topping. Whip it to soft peaks and maybe add a splash of vanilla extract for an extra pop.
- Dairy-free version: Use a dairy-free ice cream and plant-based whipped topping for a vegan-friendly pie that’s just as indulgent.
- Add mix-ins: Try folding in mini marshmallows, chopped nuts, or even a swirl of peanut butter into the chocolate filling before chilling. I remember adding chopped toasted almonds once; it gave the pie a lovely crunch.
- Decorative garnish ideas: In place of chocolate curls or mini chips, fresh raspberries or a dusting of cocoa powder bring a fresh, elegant finish.
Step-by-Step: How I Make Chocolate Ice Cream Pie Recipe
 Save
Step 1: Crafting the Perfect Crust
Start by preheating your oven to 350°F. Grab 8 graham cracker sheets—if you don’t have whole sheets, graham cracker crumbs work just as well. In a food processor, pulse the crackers along with 2 tablespoons of sugar and ¼ cup of melted salted butter until you get fine, even crumbs. Press this crumb mixture firmly into your pie plate, covering both the bottom and the sides evenly. Bake for 8 minutes until the crust turns a light, golden brown and fills your kitchen with that warm, toasty aroma. Let it cool completely before moving on. This sets a sturdy base that holds all the luscious chocolate filling.
Step 2: Whipping Up the Chocolate Filling
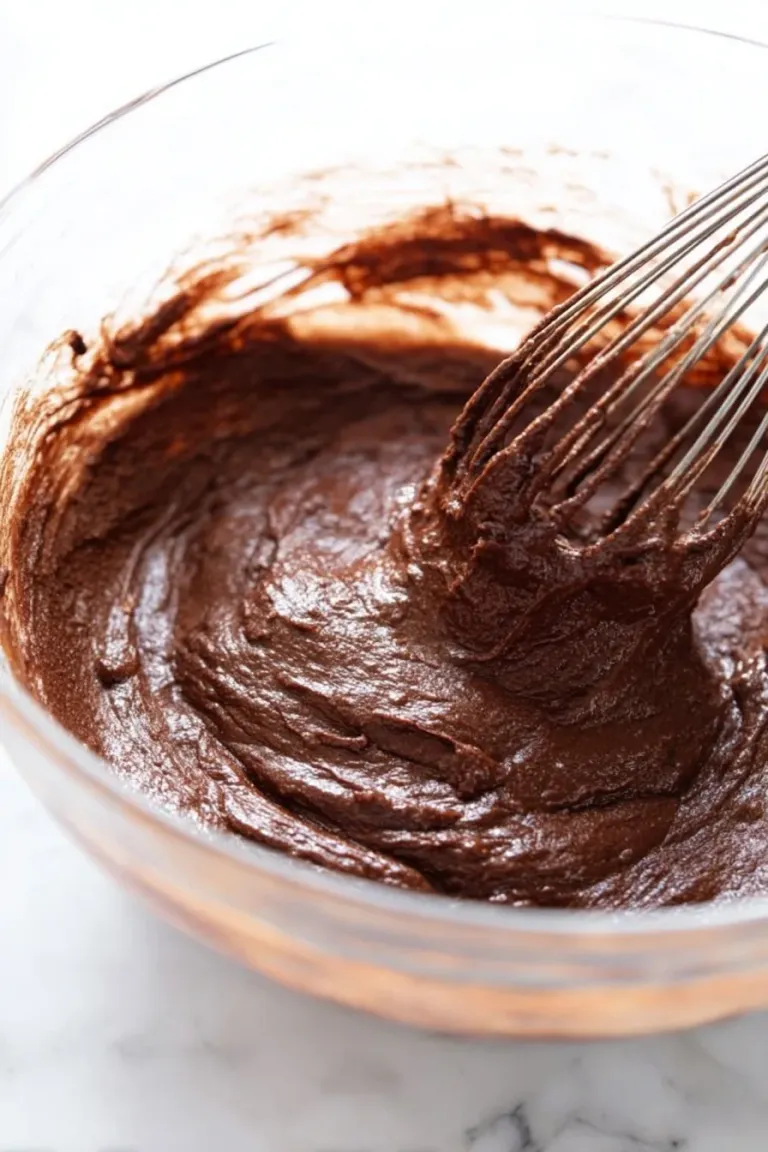
In a medium bowl, whisk together ⅔ cup of chocolate milk and the entire package of instant chocolate pudding mix until the mixture is smooth and starts to thicken slightly—this usually takes just a couple of minutes. Next, gently whisk in 2 cups of melted vanilla ice cream, folding until the filling is creamy and completely combined. The melted ice cream adds richness and creaminess that truly makes this pie a standout. I find it easiest to let the ice cream sit at room temperature for 10-15 minutes to melt gently before adding, or you can microwave it in short, low-power bursts.
Step 3: Assemble and Chill
Pour your luscious chocolate filling into the cooled graham cracker crust, smoothing the surface with a spatula for a nice even layer. This is where you can pause and admire your work before the magic really happens. Refrigerate the pie for 4 hours so the filling can set fully into that perfect creamy firmness we all love. Patience here pays off — this chilling time locks everything into place and makes slicing a breeze.
Step 4: Top It Off and Serve
When the filling is set, spread 1 tub (8 ounces) of whipped topping evenly over the surface. This fluffy layer adds lightness and contrast to the rich chocolate base. For a finishing touch, sprinkle chocolate curls or mini chocolate chips on top—feel free to get creative here! Whether you go simple or decorate extravagantly, adding garnish makes the pie feel like a special occasion. Serve chilled and enjoy every creamy, dreamy slice.
Top Tip
These tips will help you perfect your Chocolate Ice Cream Pie Recipe and make the process smoother and more enjoyable.
- Melting Vanilla Ice Cream: Let your vanilla ice cream sit at room temperature for about 10-15 minutes before whisking it into the pudding mixture. This ensures a creamy, smooth filling without ice crystals.
- Crust Pressing Technique: Press the graham cracker crumbs firmly and evenly into the pie plate, especially along the edges. This helps the crust hold its shape after baking and supports the filling better.
- Chill Time Patience: Allow the pie to refrigerate for the full 4 hours (or longer if you prefer a firmer texture) to let the filling completely set. Rushing this step can lead to a runny pie.
- Handling Whipped Topping: Spread the whipped topping gently using a spatula or the back of a spoon to keep that fluffy texture intact—avoid overworking it.
How to Serve Chocolate Ice Cream Pie Recipe
 Save
Garnishes
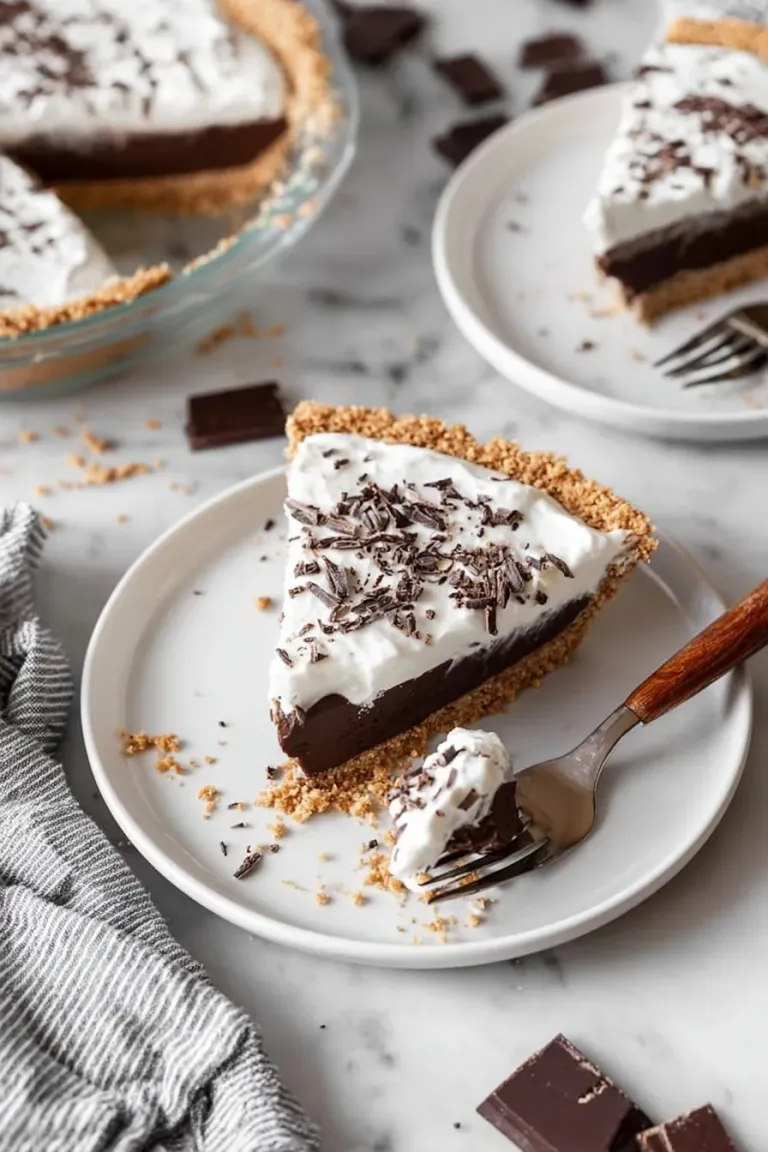
To elevate the look and flavor of your Chocolate Ice Cream Pie Recipe, try garnishing with rich chocolate curls, mini chocolate chips, or a light dusting of cocoa powder. Fresh berries like raspberries or strawberries also add a nice pop of color and a touch of tartness that complements the chocolate beautifully.
Side Dishes
Since this pie is quite rich and creamy, serving it alongside fresh fruit salad or a simple scoop of vanilla bean ice cream makes for a balanced and refreshing dessert plate. For an extra indulgent touch, a drizzle of caramel or raspberry sauce pairs wonderfully with the chocolate flavors.
Make Ahead and Storage
Storing Leftovers
Store any leftover Chocolate Ice Cream Pie Recipe in an airtight container or cover the pie tightly with plastic wrap. Keep it refrigerated and consume within 3 days to enjoy the best texture and taste.
Freezing
You can freeze the pie for up to 1 month. Wrap it well in plastic wrap and then in aluminum foil to prevent freezer burn. When ready to serve, thaw the pie overnight in the refrigerator for best results.
Reheating
This is a chilled dessert, so reheating is not necessary. Just let a frozen pie thaw fully in the fridge before serving to retain its creamy texture and rich flavor.
Final Thoughts
There’s truly something special about this Chocolate Ice Cream Pie Recipe—it’s the perfect no-bake treat that feels indulgent yet is surprisingly easy to make. Whether you’re serving it for a family gathering, holiday, or just because, I hope you enjoy every creamy, chocolatey bite as much as I do. Take your time chilling, add your favorite garnishes, and share the joy of this classic dessert with others. Happy baking!