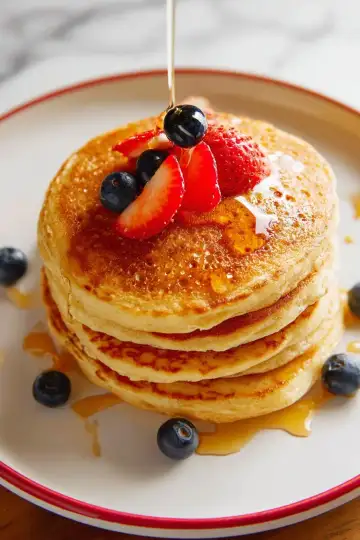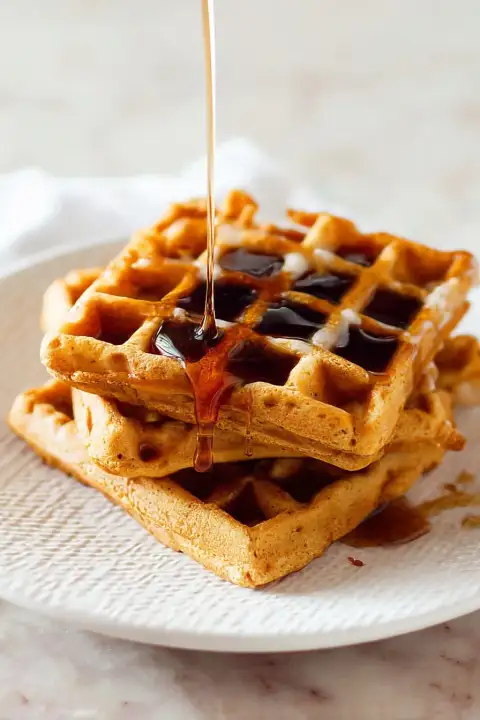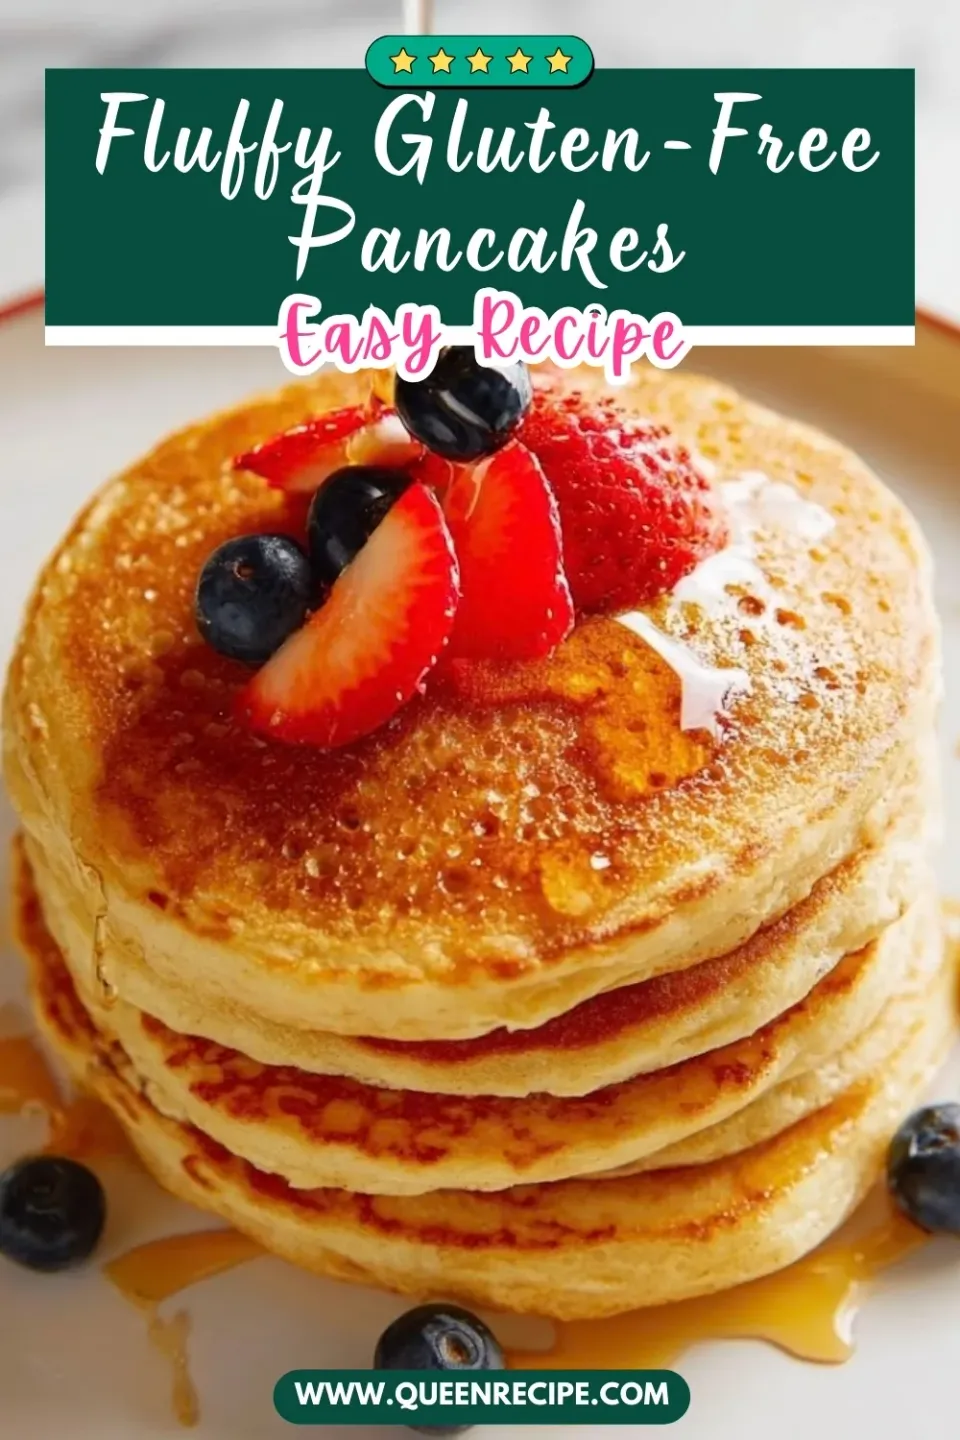

Let me share a little breakfast magic with you — this Gluten-Free Oat Pancakes Recipe is my go-to when I want something fluffy, wholesome, and irresistibly tasty without any gluten worries. It’s simple, cozy, and perfectly adaptable to whatever mix-ins you love.
Why You'll Love This Recipe
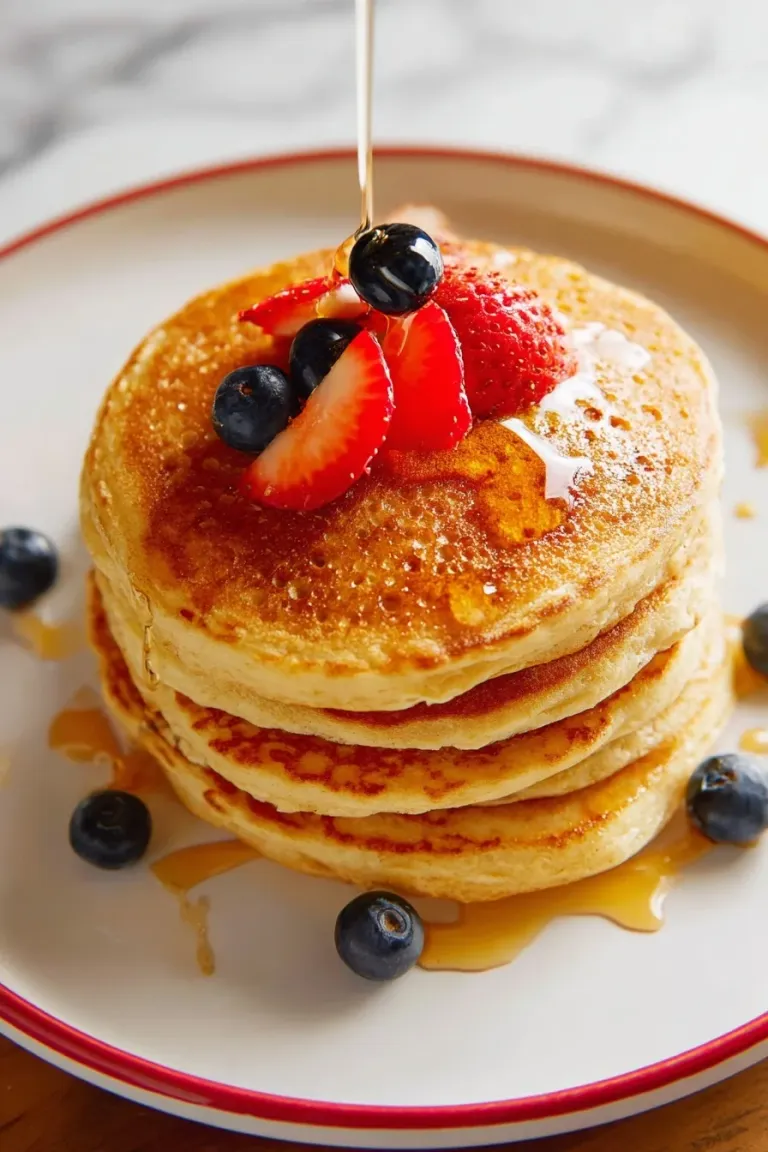
I’m honestly obsessed with how these pancakes come out super fluffy and tender every single time. The oat flour paired with creamy yogurt creates this beautiful texture that beats most gluten-free pancakes I’ve tried.
- Simple wholesome ingredients: Made with things you likely already have, like gluten-free oat flour and plain yogurt.
- Flexible and customizable: Add walnuts, blueberries, or even chocolate chips to make it your own.
- Perfect texture: Fluffy yet tender — thanks to a little rest time in the batter.
- Great for gluten-free diets: Certified gluten-free oat flour ensures no sneaky gluten hides here.
Ingredients & Why They Work
Before you grab your mixing bowls, keep in mind the importance of quality gluten-free oat flour here. If you can’t find a certified brand, grinding your own oats at home is a game changer. And the yogurt? It lends moisture and a lovely mild tang that sets these pancakes apart.
 Save
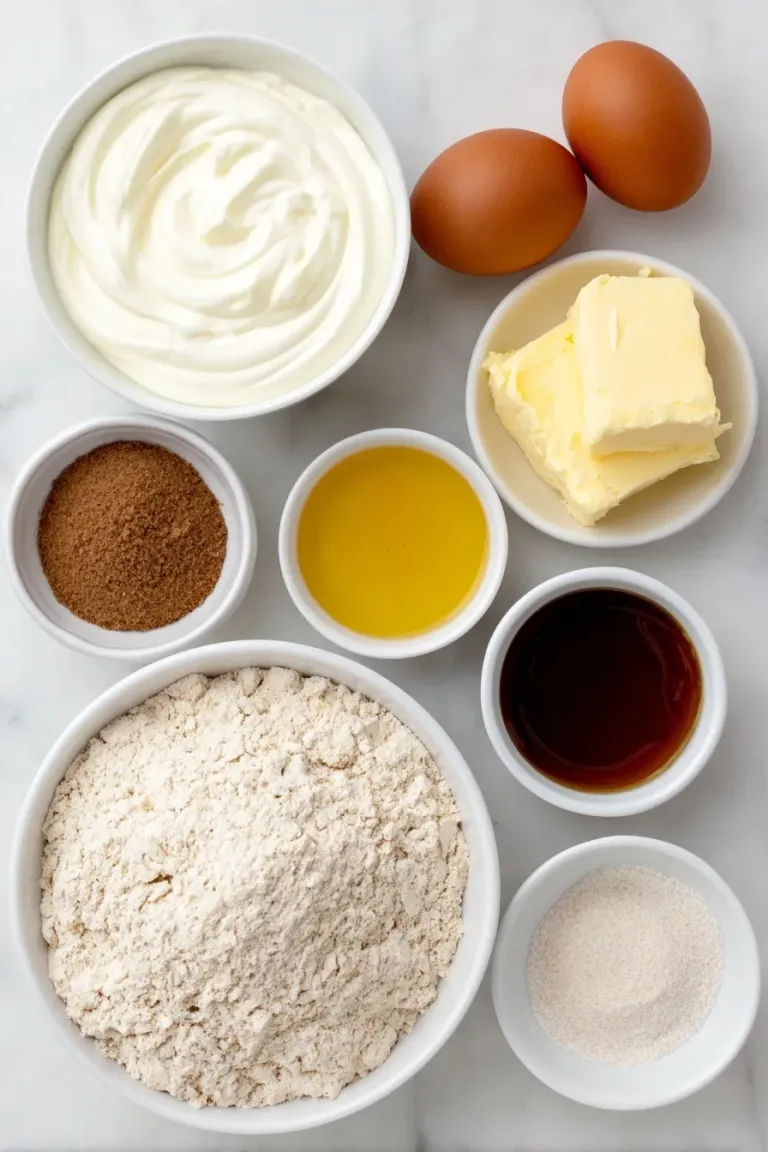
- Plain yogurt: Adds moisture and a subtle tang for fluffy, tender pancakes.
- Unsalted butter: Brings richness and helps with a golden crust when melted into the batter.
- Maple syrup: Naturally sweetens the batter without overpowering it.
- Eggs: Bind everything together and support the fluffy texture.
- Certified gluten-free oat flour: The star ingredient for a wholesome, gluten-free base.
- Baking soda: A leavening agent that helps the pancakes rise and stay airy.
- Fine salt: Enhances all the flavors and balances the sweetness.
- Ground cinnamon (optional): Adds a warm, cozy note worth trying at least once.
- Mix-ins like nuts or berries (optional): For personalized flavor bursts and crunch.
- Avocado oil or unsalted butter: For greasing your pan so pancakes slip off easily.
- Milk (optional): To thin the batter if it’s too thick for easy pouring.
Make It Your Way
One of my favorite things about this Gluten-Free Oat Pancakes Recipe is how easy it is to customize! Whether you want to keep them simple or add a little extra flair, these pancakes adapt beautifully to whatever you have on hand or crave.
- Blueberry Bliss: I love folding in fresh blueberries for a burst of juicy sweetness. It makes the pancakes feel bright and fresh—perfect for spring mornings.
- Nutty Crunch: Toasted chopped nuts like walnuts or pecans give the pancakes a satisfying crunch and a rich flavor twist. Plus, it adds a nice texture contrast.
- Chocolate Chip Treat: For a weekend indulgence, chocolate chips are a total game changer. Sprinkle them right into the batter, and you’ll have warm, melty pockets of chocolate in every bite.
- Dairy-Free Option: Swap the yogurt for a dairy-free coconut or almond yogurt, and use your favorite plant-based milk if thinning is needed. They turn out just as fluffy and delicious!
- Spiced Variation: Add an extra pinch of cinnamon or a dash of nutmeg to make it cozy and aromatic—like a comforting hug for your taste buds.
Step-by-Step: How I Make Gluten-Free Oat Pancakes Recipe
 Save
Step 1: Whisk Together the Wet Ingredients
Start by combining ⅔ cup of plain yogurt, 2 tablespoons of melted unsalted butter, and 2 tablespoons of maple syrup in a small mixing bowl. Crack in 2 large eggs and whisk everything together until smooth and well blended. The mixture should look creamy and a little glossy—this helps create that tender texture in the pancakes.
Step 2: Mix the Dry Ingredients
In a separate medium bowl, stir together 1 cup of certified gluten-free oat flour, ½ teaspoon baking soda, ¼ teaspoon fine salt, and optionally, ¼ teaspoon ground cinnamon. This is where the pancakes get their lightness and just a touch of warmth from the cinnamon if you choose to include it. Make sure everything is nicely combined so the leavening is evenly distributed.
Step 3: Fold the Batter Together (Gently!)
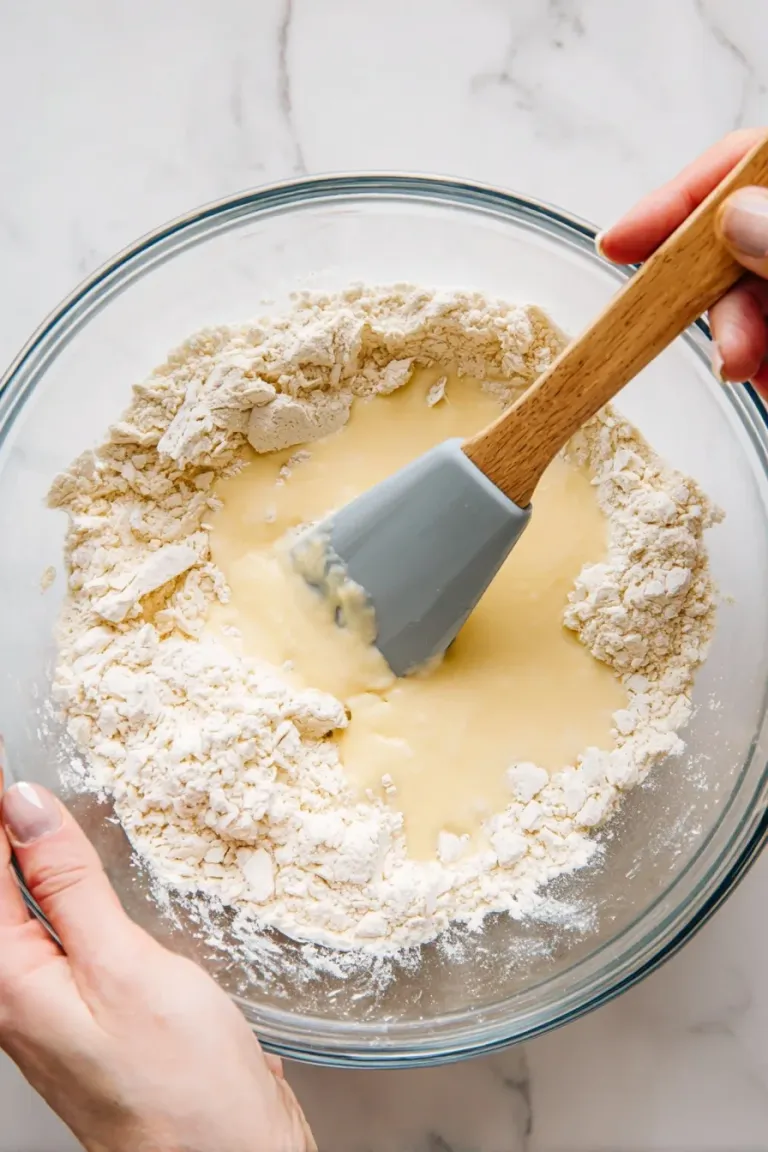
Pour the wet mixture into the bowl of dry ingredients. Stir gently until just combined. Be careful not to overmix—seeing a few lumps is totally okay and helps keep the batter fluffy. If you want to add any mix-ins like nuts, blueberries, or chocolate chips, now is the time to fold them in gently with a spatula.
Step 4: Let the Batter Rest
Give the batter a 10-minute rest. This little break lets it thicken and helps the baking soda work its magic, resulting in light, tender pancakes. Meanwhile, you can start heating your skillet or griddle to get things ready.
Step 5: Preheat Your Pan
Heat a large nonstick or stainless steel skillet over medium-low heat, or preheat an electric griddle to 325°F. To test if the pan is ready, flick a few drops of water on the surface—if it sizzles and evaporates, you’re good to go. Lightly grease with avocado oil or unsalted butter and wipe away any excess with a paper towel to prevent sticking and promote even browning.
Step 6: Cook the Pancakes
Pour about ¼ cup of batter onto the hot pan for each pancake. Let it cook for 3 to 4 minutes, watching for the edges to turn matte rather than shiny and the bottom to develop a beautiful golden color. If your batter seems too thick and isn’t spreading easily, thin it with a splash of milk (up to ¼ cup) and stir gently.
Step 7: Flip and Finish Cooking
Using a spatula, carefully flip your pancake and cook for another 90 seconds until the second side is golden brown as well. If your pan is getting too hot, reduce the heat slightly to avoid burning while the inside finishes cooking.
Step 8: Repeat and Serve
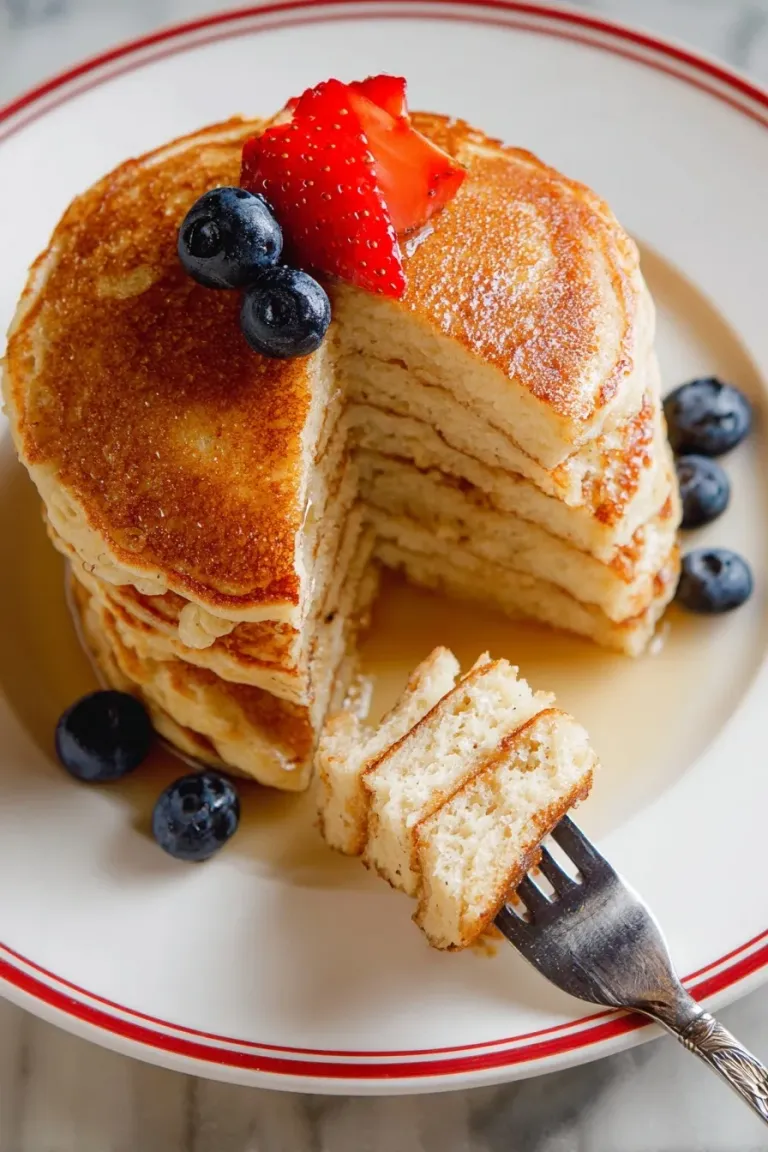
Continue with the remaining batter, lightly greasing the pan between batches as needed. Serve your pancakes hot off the griddle with a drizzle of extra maple syrup, fresh fruit, or toppings of your choice. If you’re not eating them all immediately, keep cooked pancakes warm in a 200°F oven until ready to serve.
Top Tip
Mastering the perfect batch of these Gluten-Free Oat Pancakes Recipe is all about a few simple techniques that preserve fluffiness and boost flavor. These tips have really made a difference in my kitchen, helping turn every pancake into a cozy breakfast treat.
- Don’t Overmix the Batter: Gently stirring just until combined keeps the batter light and airy. Overmixing deflates those precious air bubbles that give the pancakes their fluffy texture.
- Let the Batter Rest: Giving the batter a 10-minute rest thickens it up nicely and helps the baking soda activate, resulting in tender, fluffy pancakes every time.
- Temperature Control: Cooking over medium-low heat or at 325°F on a griddle ensures even browning without burning. I’ve learned it’s worth adjusting the heat as you go!
- Light Greasing: A thin layer of avocado oil or unsalted butter keeps the pancakes from sticking while adding a subtle richness—using too much grease can cause uneven sizzling and soggy edges.
How to Serve Gluten-Free Oat Pancakes Recipe
 Save
Garnishes
These pancakes shine with classic and creative toppings alike. Try a drizzle of maple syrup for natural sweetness, a dollop of whipped cream or Greek yogurt for creaminess, or a sprinkle of toasted chopped nuts to add crunch. Fresh berries like blueberries or sliced bananas bring vibrant flavor and color. For a richer touch, a smear of almond butter or a dusting of cinnamon sugar makes every bite special.
Side Dishes
Round out your breakfast or brunch plate with protein-rich sides like crispy turkey bacon or scrambled eggs. A fresh fruit salad adds juice and brightness that complements the warm oat flavors. For something savory, roasted sweet potatoes or sautéed greens provide a satisfying balance. And a hot cup of coffee or herbal tea pairs beautifully with these gluten-free delights.
Make Ahead and Storage
Storing Leftovers
If you have leftovers (and who doesn’t?), store them in an airtight container in the refrigerator for up to 5 days. This keeps them fresh and ready for quick breakfasts during a busy week.
Freezing
Gluten-Free Oat Pancakes freeze wonderfully. Just layer them between sheets of wax paper or parchment in a freezer-safe container or resealable bag. They’ll keep at their best for up to 6 months, so you can batch-make ahead and enjoy anytime.
Reheating
Reheat gently to maintain their tender texture. Warm leftovers in a preheated 200°F oven until heated through or pop them in the toaster or microwave for a quick fix. Just be sure not to overheat, which can dry them out.
Final Thoughts
Creating these Gluten-Free Oat Pancakes Recipe has been such a joyful experience in my kitchen — they're simple, wholesome, and endlessly adaptable. Whether you stick to the classic batter or get creative with mix-ins, these pancakes fill the morning with warmth and comfort. I hope they become a beloved staple in your breakfast routine as they have in mine. Happy cooking and, most importantly, happy eating!