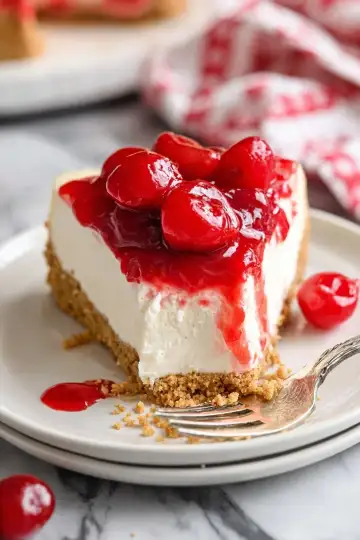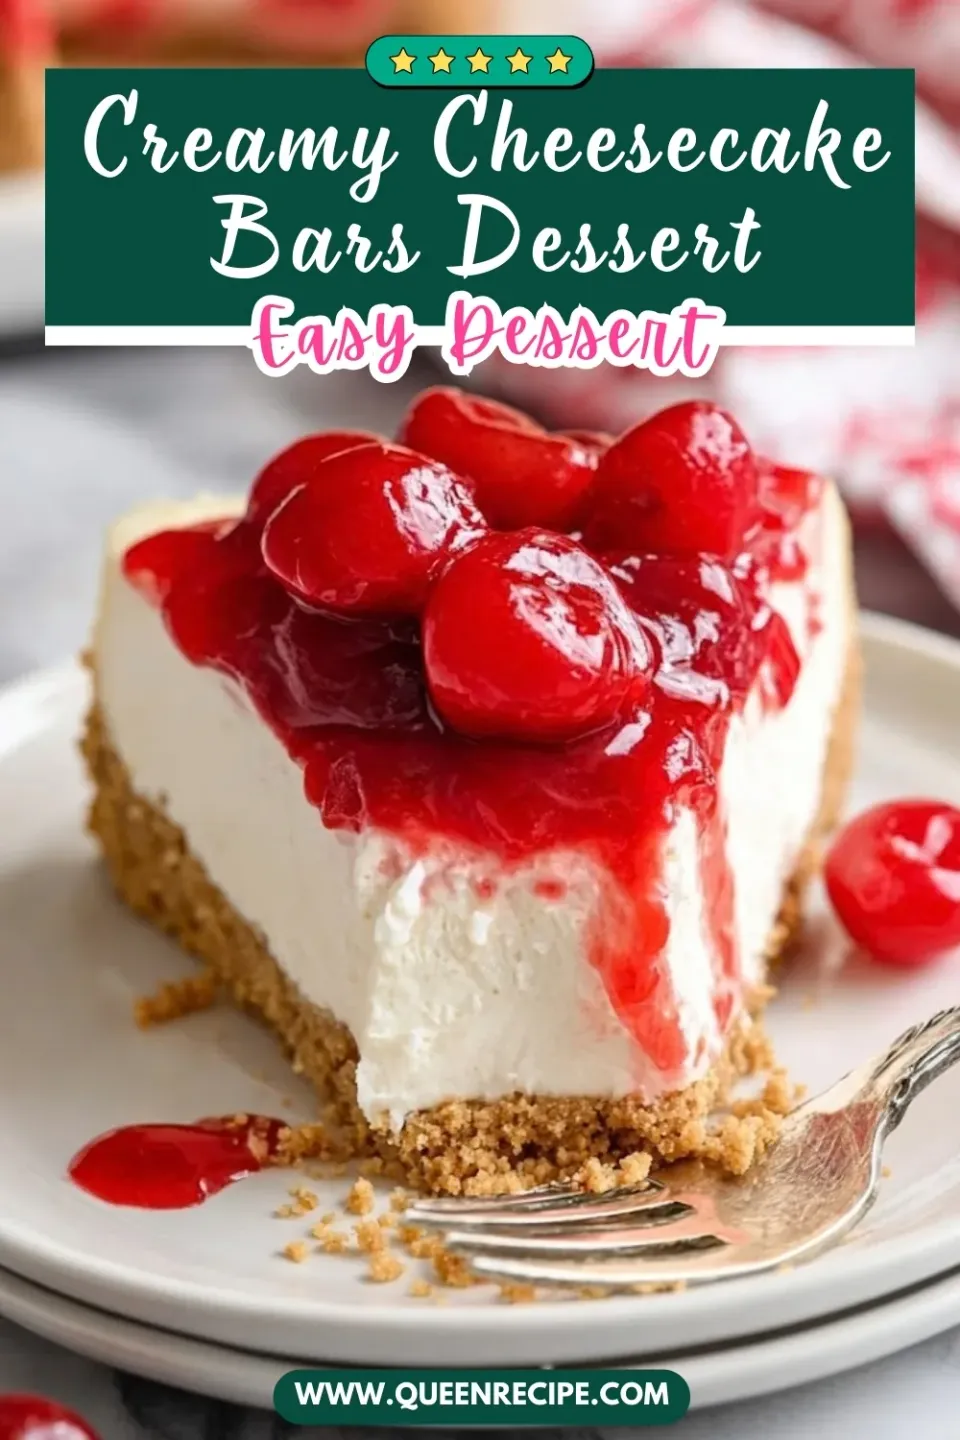

If you’re craving a dessert that’s creamy, cool, and comes together without turning on the oven, this No Bake Cheesecake Bars Recipe is just what you need. It’s a quick, no-fuss treat with a buttery graham cracker crust and velvety filling topped with your favorite pie filling. Trust me, once you try these bars, you’ll want to keep this recipe on speed dial!
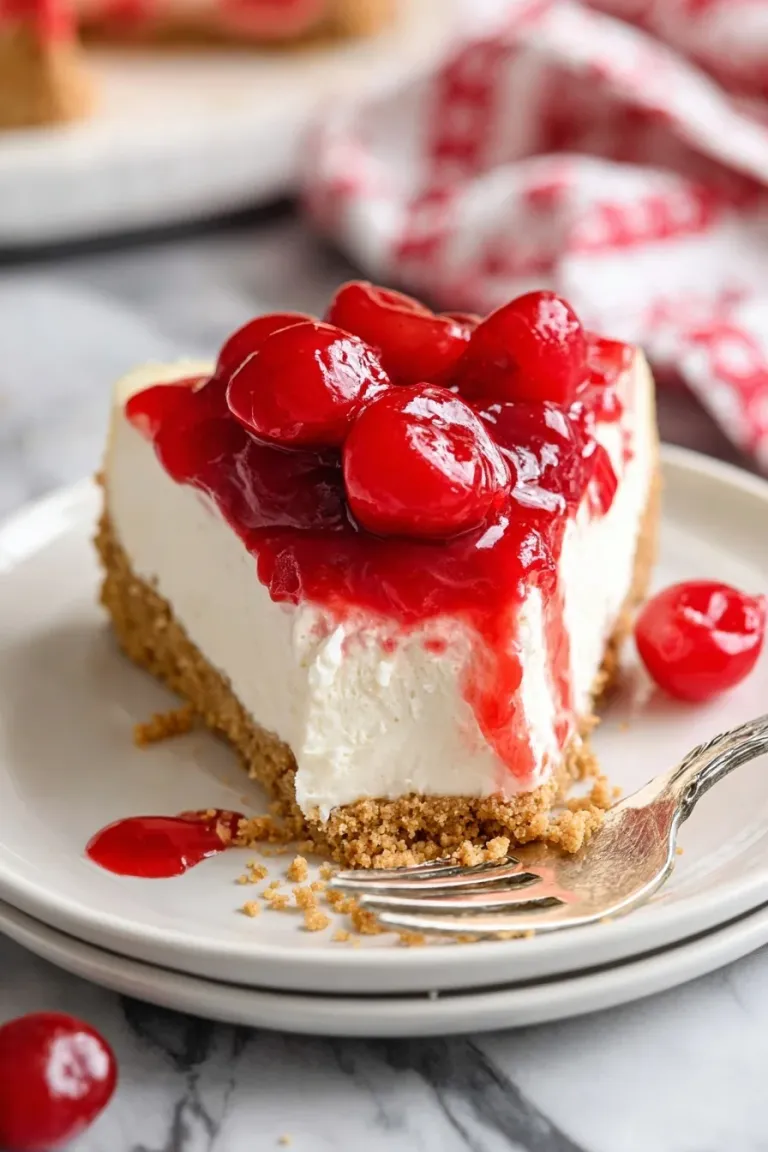
Why You'll Love This Recipe
I remember making these bars for a last-minute get-together, and everyone was raving about how smooth and flavorful they were—not to mention how simple it was to whip them up!
- Super Easy Prep: No baking means this dessert comes together in just 20 minutes.
- Customizable Topping: Use your favorite pie filling or syrup for a personalized touch.
- Perfect for Any Occasion: Whether it’s a party or a quiet night in, these bars fit right in.
- Cool and Refreshing: The chilled cheesecake makes a great cool-down treat in warm weather.
Ingredients & Why They Work
All the ingredients in this recipe are simple and easy to find. You’ll want to make sure your cream cheese is softened for the smoothest filling, and choose a pie filling flavor you love to top these bars off perfectly.
 Save
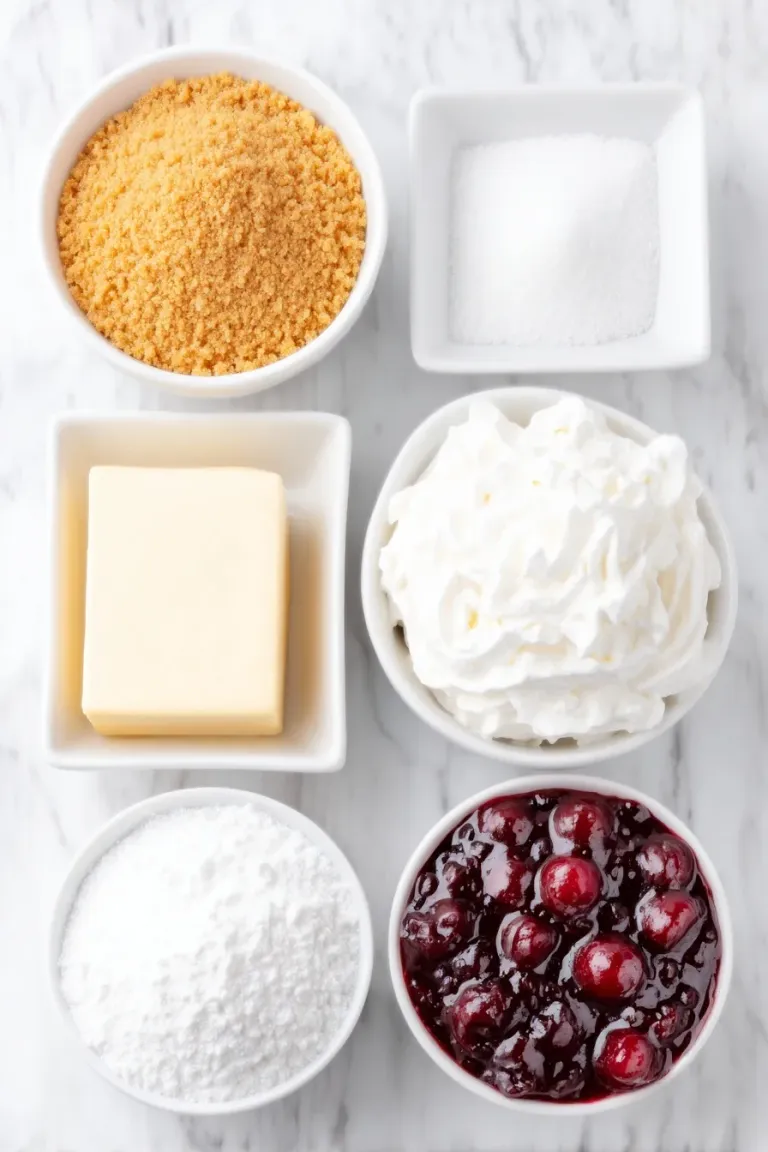
- Graham Cracker Crumbs: The base of this dessert, providing a buttery and crunchy crust that sets the stage for the creamy filling.
- Salted Butter: Adds richness and helps bind the crust crumbs together for that perfect texture.
- Sugar: Sweetens the crust just enough to balance the tangy filling without overpowering it.
- Cream Cheese: The star of the filling, softened cream cheese creates that luscious, smooth cheesecake texture.
- Powdered Sugar: Dissolves easily to sweeten the cream cheese filling uniformly.
- Whipped Topping: Lightens the filling for that airy, melt-in-your-mouth feel.
- Pie Filling: Cherry, blueberry, or your favorite flavor — this adds the finishing fruity layer and a pop of color.
Make It Your Way
One of the best things about this No Bake Cheesecake Bars Recipe is how easy it is to customize. Whether you want to swap in your favorite pie filling or add a little extra flair, these bars lend themselves perfectly to your personal touch.
- Classic Cherry Twist: I love using cherry pie filling on top for a bright, fruity contrast to the creamy cheesecake. It always brings a nostalgic feel reminiscent of family dinners and holidays.
- Berry Bliss: Blueberry pie filling creates a beautifully vibrant and juicy topping that pairs wonderfully with the buttery graham cracker crust.
- Dairy-Free Variation: For a dairy-free option, you can try using dairy-free cream cheese and whipped toppings alongside your favorite pie filling.
- Chocolate Drizzle: Skip the pie filling and drizzle chocolate or caramel syrup over the bars just before serving for a decadent finish.
- Mini Dessert Boards: Make smaller portions in cupcake liners or mini pans — perfect for parties or an easy grab-and-go treat.
Step-by-Step: How I Make No Bake Cheesecake Bars Recipe
 Save
Step 1: Prepare the Graham Cracker Crust
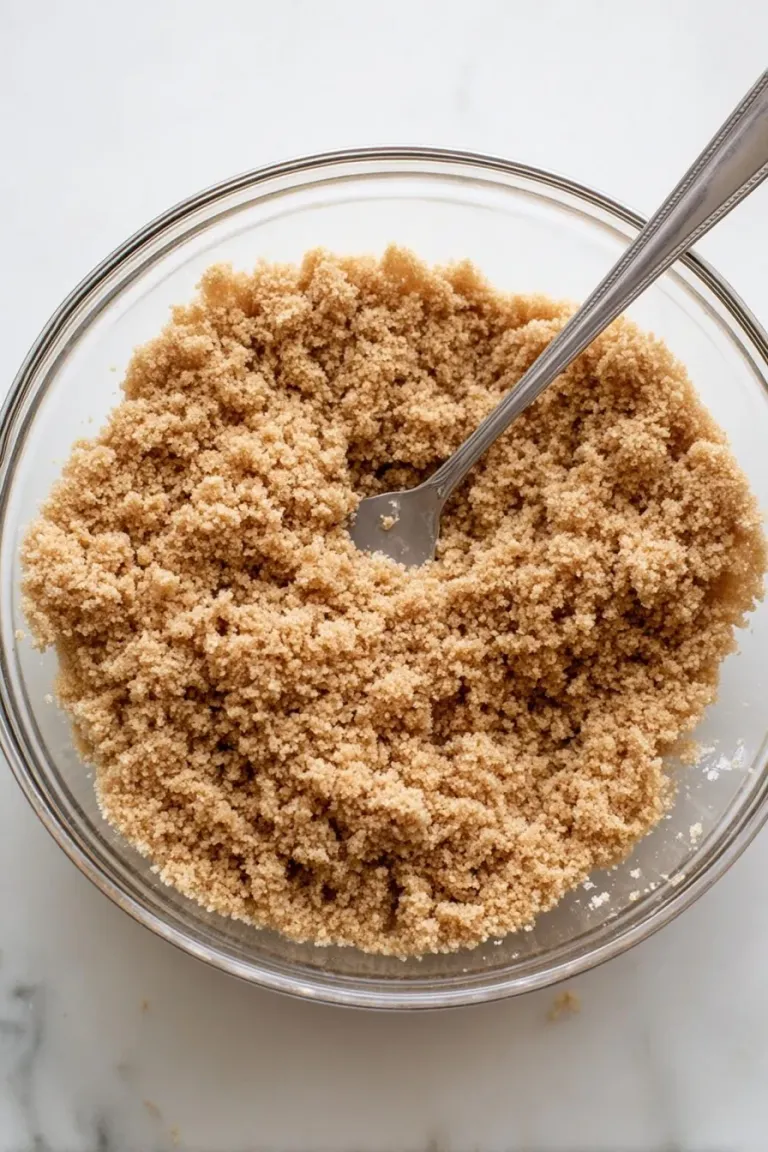
Start by combining 2 cups of graham cracker crumbs, ½ cup melted salted butter, and ⅓ cup sugar in a mixing bowl. Mix until all the crumbs are evenly moistened with butter – you’ll notice the texture become slightly sandy but sticky. Press this mixture firmly and evenly into the bottom of a 9x13 inch pan. This is your sturdy, buttery base, so try to compact it well for crisp bars. Once pressed, pop the pan into the refrigerator to chill while you prepare the cheesecake filling.
Step 2: Make the Creamy Cheesecake Filling
In a large mixing bowl, beat together 2 softened 8-ounce packages of cream cheese and ⅔ cup powdered sugar until the mixture is perfectly smooth and creamy – no lumps! This usually takes a few minutes with an electric mixer on medium speed. Next, gently fold in 2 tubs (16 ounces total) of thawed whipped topping. Use a spatula to fold carefully so the filling stays light and fluffy, creating that signature cheesecake texture without baking.
Step 3: Assemble Your Cheesecake Bars
Spoon the cheesecake filling over your chilled graham cracker crust and spread it out evenly with the back of a spoon or offset spatula. Aim for a smooth layer that covers the crust edge to edge. Then, spoon 2 cans (21 ounces each) of your choice of pie filling evenly over the cheesecake layer. Spread gently for an attractive, glossy topping – I find cherry or blueberry fillings work wonderfully here.
Step 4: Chill and Serve
Refrigerate the assembled bars for at least 4 hours or until they’re firm and set – this step is crucial for easy slicing and that creamy, cool bite we all love. When ready, cut into 12 squares and serve chilled. These bars are perfect for warm days or anytime you want a fuss-free, gorgeous dessert without turning on the oven.
Top Tip
These tips will help you make the perfect No Bake Cheesecake Bars every time, ensuring a smooth filling, a crisp crust, and easy slicing.
- Chilling is Key: Make sure to refrigerate the crust and fully chill the assembled bars for at least 4 hours to allow everything to set properly and make slicing cleaner.
- Softened Cream Cheese: Take the cream cheese out of the fridge early so it’s soft and easier to beat, which prevents lumps in your cheesecake filling.
- Firm Pressed Crust: Press the graham cracker crust firmly and evenly into the pan to avoid crumbling when you cut the bars later.
- Even Layering: Spread the cheesecake filling carefully and smooth the pie filling topping evenly so each slice looks beautiful and balanced.
How to Serve No Bake Cheesecake Bars Recipe
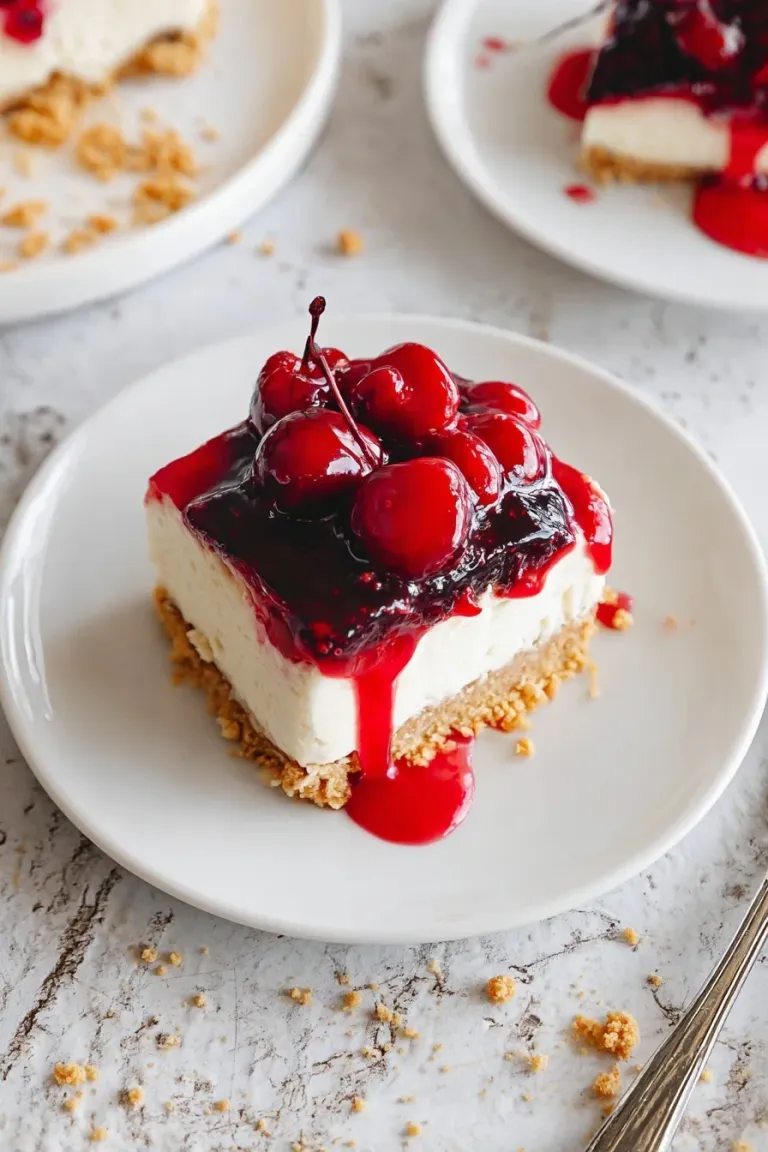 Save
Garnishes
Enhance these cheesecake bars with fresh berries like strawberries or raspberries, a light dusting of powdered sugar, or a drizzle of chocolate or caramel syrup. A sprig of mint adds a pretty, fresh touch that contrasts nicely with the creamy filling.
Side Dishes
Pair your No Bake Cheesecake Bars with simple sides such as a bowl of mixed fruit, a scoop of vanilla ice cream, or whipped cream on the side. These options keep the dessert feeling light and refreshing.
Make Ahead and Storage
Storing Leftovers
Store leftover cheesecake bars in an airtight container in the refrigerator. They will stay fresh and delicious for up to 4 days. Keep them chilled to maintain the creamy texture and firm crust.
Freezing
You can freeze these bars for longer storage. Wrap them tightly in plastic wrap and then foil to prevent freezer burn. Freeze for up to 2 months. Thaw them in the refrigerator overnight before serving.
Reheating
Since this is a no-cook dessert, serving chilled is best. If you prefer it slightly less cold, let the bars sit at room temperature for 10 to 15 minutes before serving — avoid microwaving, as it can spoil the texture.
Final Thoughts
Making this No Bake Cheesecake Bars Recipe is one of those wonderfully simple ways to treat yourself and your guests to a creamy, refreshing dessert without heating up the kitchen. I hope you enjoy how easy it is to whip up and how delicious it tastes—these bars truly make dessert time feel special yet stress-free. Happy baking (or rather, no baking!), and don’t forget to share with loved ones!