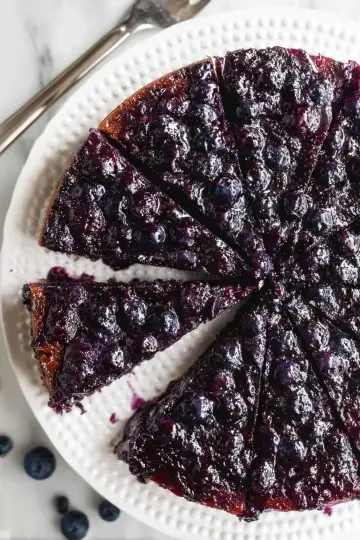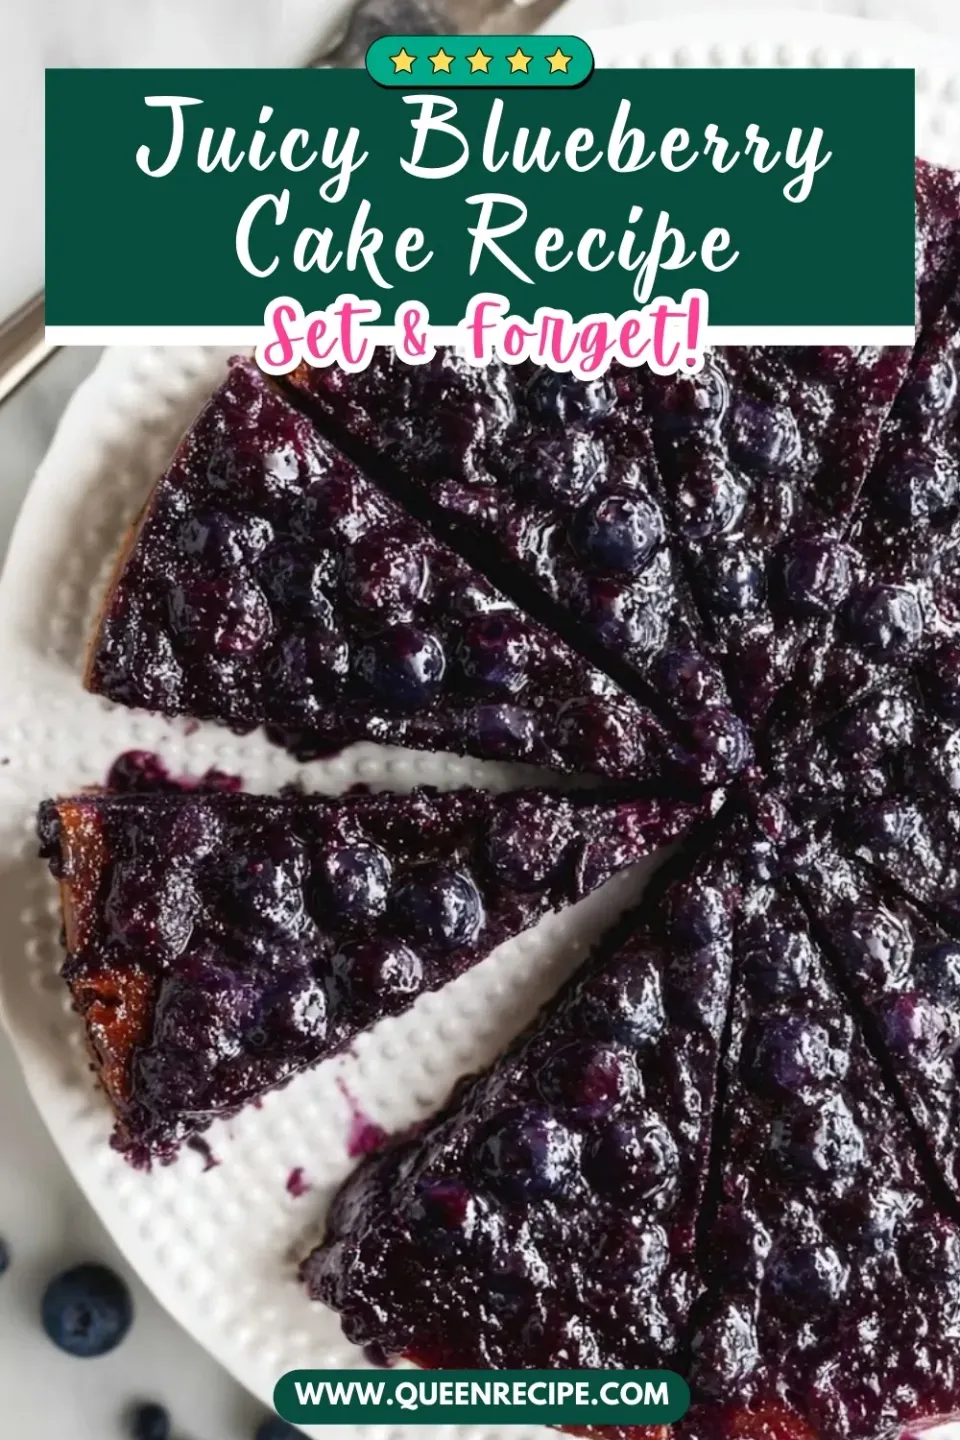

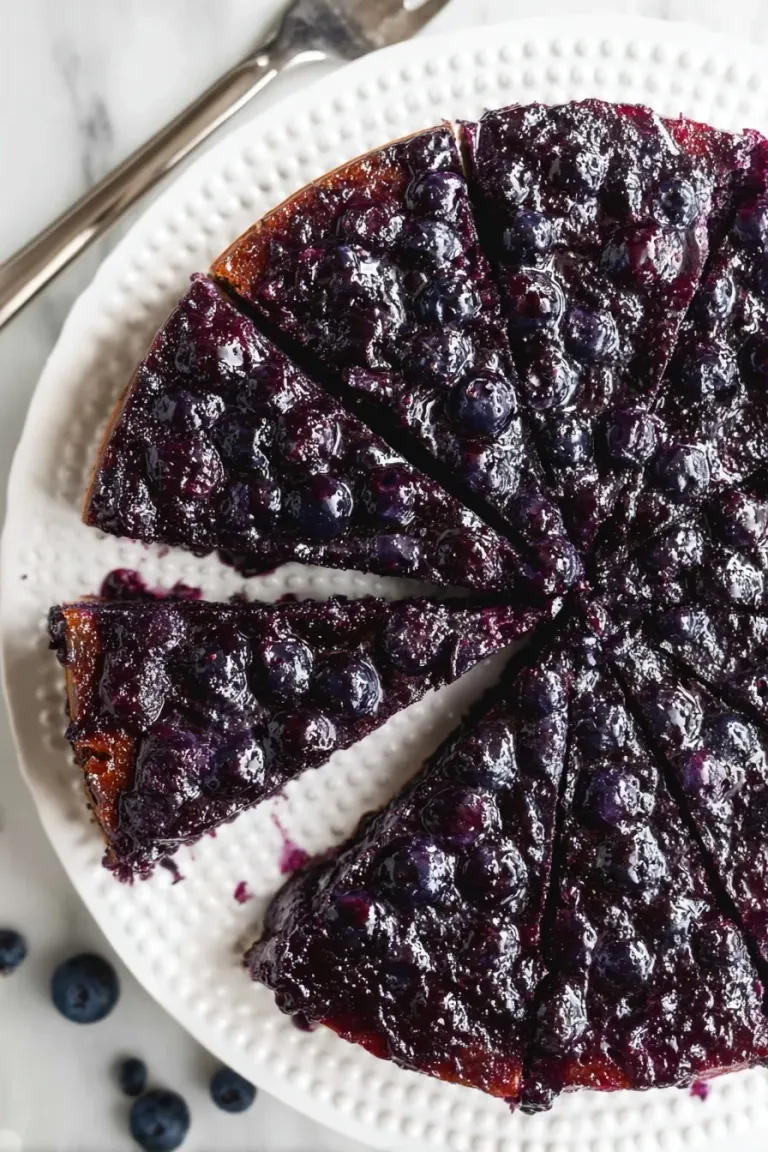
There’s something irresistibly charming about a homemade Blueberry Upside Down Cake Recipe, especially when the blueberries caramelize into a golden, buttery topping. I love how this cake is both stunning and simple to make, perfect for impressing without stress.
Why You'll Love This Recipe
I’ve made this cake countless times, and every time it gets devoured in no time. The balance of that rich blueberry layer with a tender, moist cake underneath always brings smiles at my table.
- Beautiful Presentation: The blueberry topping creates a stunning, glossy finish that looks like you worked for hours.
- Simple Ingredients: Mostly pantry staples plus fresh or frozen blueberries, making it easy to whip up anytime.
- Perfect Texture: Moist, tender cake with a luscious, buttery blueberry topping – bliss in every bite.
- Flexible Serving: Enjoy it warm or at room temperature, great for dessert or a special brunch treat.
Ingredients & Why They Work
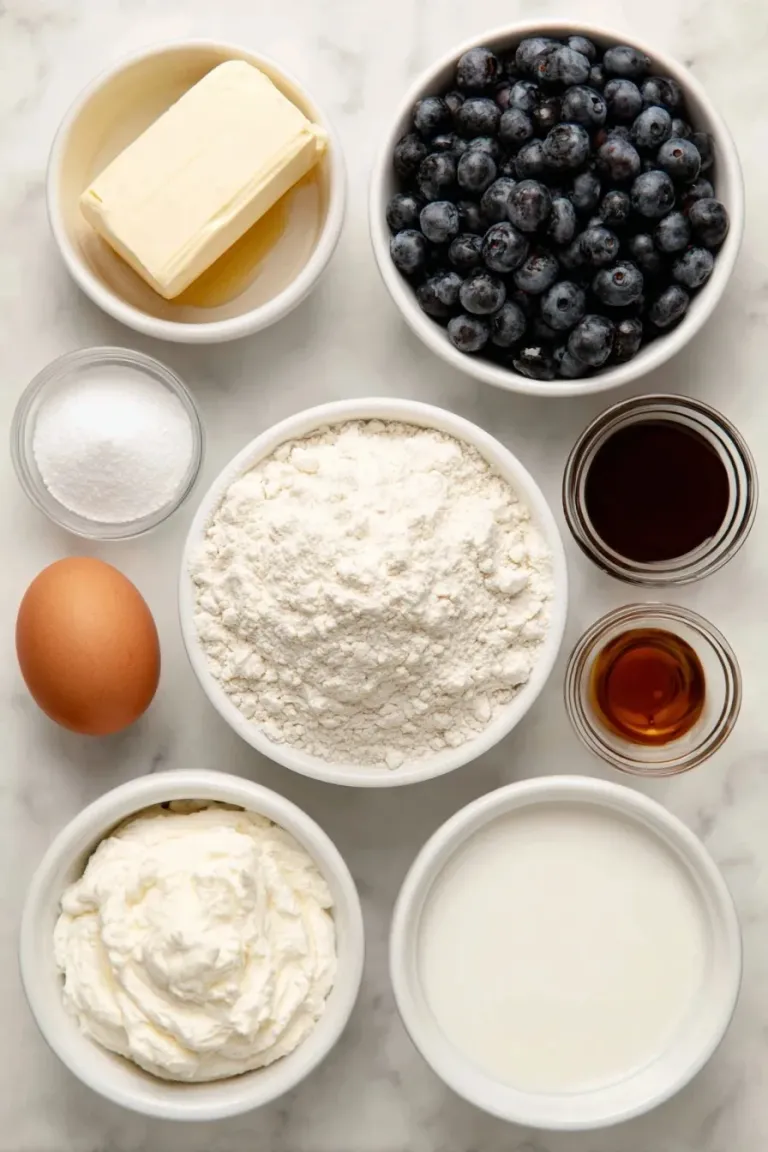
Before you get started, it’s helpful to know why we use each ingredient in this blueberry upside down cake recipe. It helps you pick the best quality and maybe even customize it to your liking.
 Save
- Salted Butter: Adds a rich, buttery flavor and moisture to the topping and cake, plus a little salt enhances the sweetness perfectly.
- Sugar: Creates that caramelized brilliance on top and sweetness in the cake without being overpowering.
- Blueberries: Fresh or frozen work beautifully, bursting with natural juices that mingle with butter and sugar for that luscious topping.
- Flour: Provides structure to the cake, so it holds up well but remains soft and tender.
- Baking Powder and Baking Soda: Work together as leavening agents to give your cake a nice rise and fluffy texture.
- Salt: Balances flavors, making the sweetness and blueberry brightness pop.
- Egg: Binds the ingredients and adds richness to the cake’s crumb.
- Sour Cream: Adds moisture and a slight tang, keeping the cake incredibly tender and flavorful.
- Vanilla Extract: Brings a warm, sweet aroma that complements the blueberry beautifully.
- Milk: Helps loosen the batter so it spreads evenly over the blueberry topping and bakes up soft.
Make It Your Way
The beauty of this Blueberry Upside Down Cake Recipe is how easy it is to customize and make your own. Whether you’re craving a zesty twist or want to accommodate dietary needs, a few simple adjustments can elevate this classic dessert to something uniquely you.
- Lemon Blueberry Twist: Adding 2 teaspoons of lemon zest to the sugar topping and mixing 1 tablespoon of lemon zest into the batter gives the cake a bright, citrusy pop. I love how this addition balances the sweetness with a fresh zing—perfect if you want to brighten up your brunch spread.
- Using Frozen Blueberries: No fresh berries? No problem! Just spread frozen blueberries directly on the butter and sugar layer without thawing. The cake still bakes up wonderfully moist, and the fruit stays juicy and flavorful.
- Pan Options: Don’t have a springform pan? A 9-inch round or an 8-inch square pan works just as well. When I tried the square pan, the edges caramelized beautifully, adding a little crunch that was delightful.
- Doubling the Recipe: Planning for a crowd? Double the recipe and bake it in a 9×13-inch pan. Just keep an eye on the baking time, adding a few extra minutes and checking doneness with a toothpick.
Step-by-Step: How I Make Blueberry Upside Down Cake Recipe
 Save
Step 1: Preheat and Prep Your Pan
Start by preheating your oven to 350℉—this ensures everything bakes evenly right from the start. While it warms up, generously grease the bottom and sides of a springform pan with cooking spray. This little prep step makes flipping the cake out later a breeze and keeps that beautiful blueberry topping intact.
Step 2: Build the Buttery Blueberry Base
Melt ¼ cup of salted butter until it's golden and pour it evenly into your prepared pan. Next, sprinkle ½ cup sugar over the melted butter—this will caramelize nicely during baking. Then, spread 2 cups of blueberries on top in an even layer. You’ll want the berries distributed so every slice has that juicy fruit burst.
Step 3: Whisk Together the Dry Ingredients
In a small bowl, whisk 1 ½ cups flour with 1 teaspoon baking powder, ½ teaspoon baking soda, and ½ teaspoon salt. This dry mix sets the foundation for a tender cake with just the right rise—keep it handy for combining with your wet ingredients shortly.
Step 4: Cream Butter and Sugar Until Fluffy
Using a stand mixer, beat ¼ cup salted butter with ¾ cup sugar for 3-4 minutes until light and fluffy. This step is key for a tender crumb as it incorporates air into the batter. You’ll notice the mixture becoming paler and creamier—that’s exactly what you want.
Step 5: Stir In Egg, Sour Cream, and Vanilla
Next, add 1 egg, ½ cup sour cream, and 1 teaspoon vanilla extract to the creamed butter and sugar. Mix until fully combined and smooth. The sour cream adds moisture and a subtle tang that keeps this cake wonderfully tender.
Step 6: Combine Dry Ingredients and Add Milk
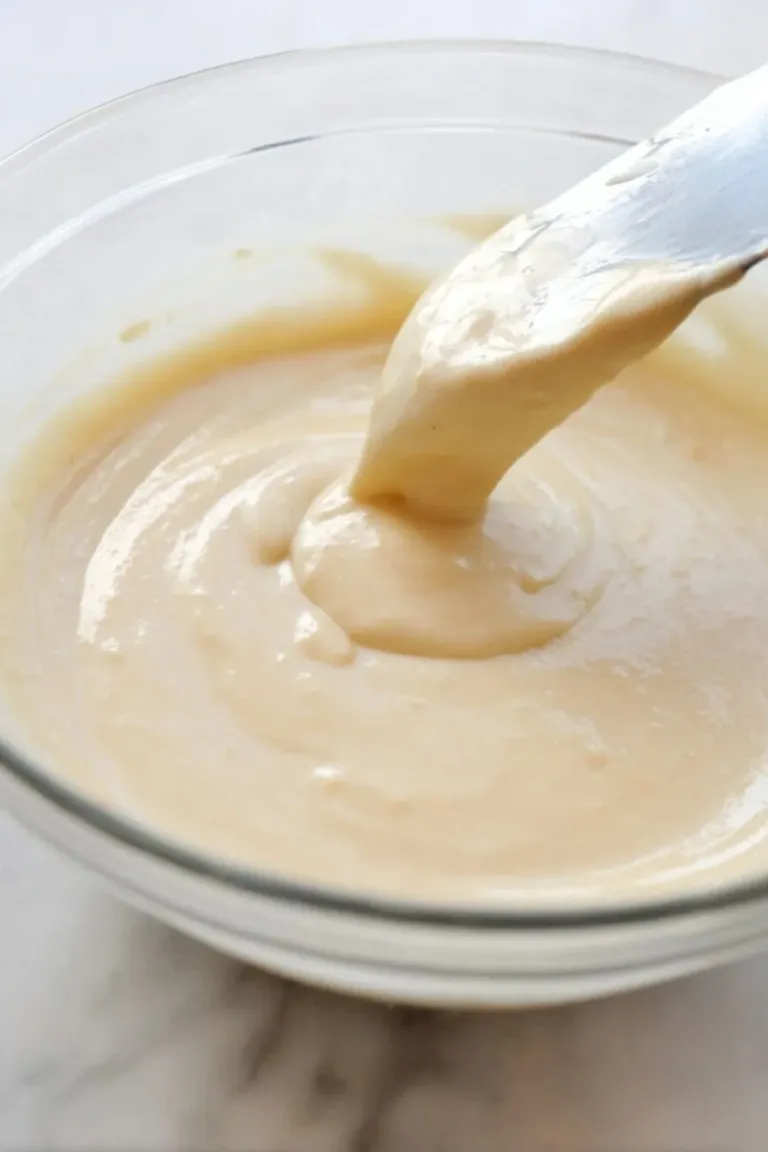
Gradually add the dry flour mixture to your wet ingredients, mixing just until combined to avoid overworking the batter. Then, slowly pour in ⅓ cup milk while mixing gently until smooth. The batter should be thick but pourable—perfect for spreading over your blueberry layer.
Step 7: Assemble and Bake
Pour the batter gently over the blueberry topping in your pan and spread evenly with a spatula. Bake uncovered for 20 minutes, then tent loosely with aluminum foil to keep the top from browning too much. Continue baking for another 30 minutes or until a toothpick inserted in the center comes out clean.
Step 8: Cool, Flip, and Serve
After baking, let the cake cool in the pan for 10 minutes. Run a butter knife around the edges to loosen it, then carefully invert the cake onto a serving platter—watch that luscious blueberry topping glisten on top! Enjoy this cake warm or at room temperature, with a lovely dollop of whipped cream if you’re feeling indulgent.
Top Tip
These tips come straight from baking the Blueberry Upside Down Cake Recipe many times to get that perfect balance of tender cake and gloriously gooey topping.
- Pan Preparation: Grease your springform pan generously and don't skimp — this ensures the cake unmolds beautifully keeping the blueberry topping intact.
- Berry Layer: Whether fresh or frozen, spread your blueberries evenly so every slice gets that luscious fruity layer without some parts falling short.
- Aluminum Foil Tenting: Tent loosely when covering midway through baking to prevent the top from getting too brown while allowing the cake to finish baking perfectly.
- Butter & Sugar Creaming: Beat the butter and sugar thoroughly until light and fluffy to create a tender crumb and bring out the cake’s best texture.
How to Serve Blueberry Upside Down Cake Recipe
 Save
Garnishes
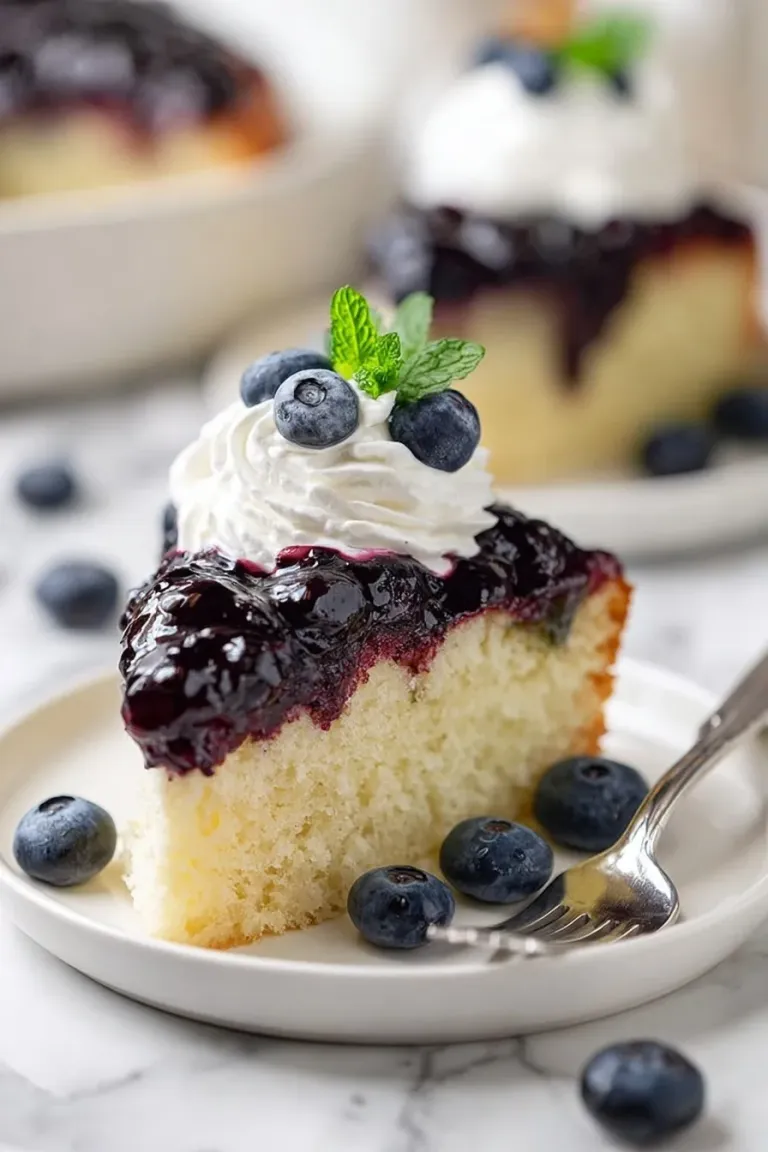
For an extra touch, dust the top lightly with powdered sugar or add a dollop of freshly whipped cream. A sprig of fresh mint or a few extra fresh blueberries on the side adds a pop of color and an inviting fresh aroma.
Side Dishes
This cake shines wonderfully on its own, but you can round out your spread with a scoop of vanilla ice cream for dessert or serve it alongside a warm cup of coffee or tea for a cozy brunch experience. Fresh fruit salad or a simple mixed greens salad with a citrus vinaigrette can balance the sweetness if serving at brunch.
Make Ahead and Storage
Storing Leftovers
Store leftover Blueberry Upside Down Cake in an airtight container at room temperature for up to two days. For longer keeping, refrigerate it for up to 4 days to maintain freshness.
Freezing
You can freeze the cake either whole (wrapped tightly in plastic wrap and foil) or in individual slices. For best results, freeze for up to 2 months. Thaw overnight in the refrigerator before serving.
Reheating
Reheat slices gently in the microwave for 15-20 seconds or in a warm oven at 300℉ for about 10 minutes to bring out that delicious, warm blueberry aroma and melty topping like just out of the oven.
Final Thoughts
Making this Blueberry Upside Down Cake Recipe is like wrapping yourself in a warm, fruity hug. It’s simple, satisfying, and always impresses whether you’re serving it to family on a Sunday or guests at a special brunch. Hopefully, with these tips and tricks, you feel ready to create a beautiful, luscious cake that tastes just as good as it looks. Happy baking!